Probability Profile Tutorial
Probability Profiles allow you to incorporate different product mixes into your Label values.
We will start by expanding the example used in the Label Tutorial, where we used lbl_color to differentiate Green and Blue Work Items.
We are going to expand this example by adding some more detail. We now know that 45% of people are female, and 55% are male. Instead of saying that we are equally likely to have male and female Work Items, we are going to amend our simulation model to incorporate this new information.
Step One: Create Your Distribution
The first step is to create a new Distribution. Go to the ‘Data and Rules’ tab, and select ‘Distributions’. Click on ‘New’ to create a new Distribution, then select ‘Probability Profile’ from the list. This takes you to the following screen;
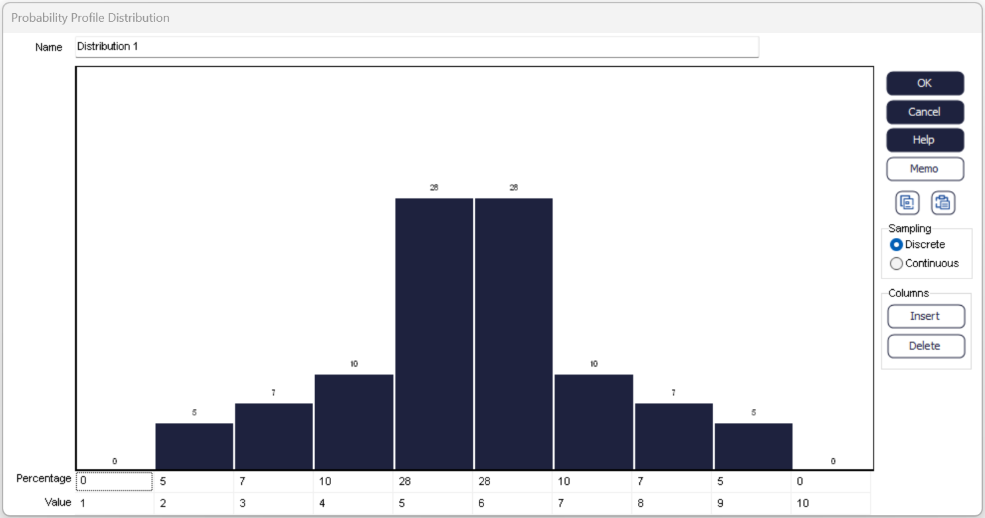
Name your distribution with the naming convention ‘Dist_xxx’. We could call this one dist_gender. This distribution can be edited to reflect the likelihood or your own values occurring. We have 2 values (Male/Female) so we only need 2 columns rather than the 10 displayed here.
Columns can be removed individually by right clicking and choosing ‘Delete’. If you have several columns to remove, right click and choose ‘Multiple’ to add or remove more than one at a time. Columns can also be added to the distribution by right clicking and choosing ‘Insert’.
Make sure you have 2 columns left, and then you can input the correct values.

Once you have amended your percentages, you should check the ‘Value’ associated with each column – the 55% column should have value 1 (representing male Work Items) and the 45% column should have value 2 (representing female Work Items). It is important to check these because we are going to link our Label to this distribution later.
Step Two: Attach your Probability Profile using a Label
A Probability Profile can be attached to your simulation model using a Label. First, create a Label (we can use lbl_gender from the Label example).
Once the Label is attached in the Start Point, we can set it to pay attention to the Distribution. When each Work Item enters, we want to give it a value of either 1 or 2. 55% should be given value 1, and 45% should be given value 2. In order to set this up, choose ‘Set to’ from the Actions list, click on ‘Value’ and then scroll to the bottom of the Distributions list on this dialog. You should find your own distribution, dist_gender, at the bottom of this list.

Select your distribution, and the Value box on the dialog will disappear. This is because all the values required have been set within the Probability Profile.
Step Three: Testing
Now you have created and attached a Probability Profile within your simulation model. You can check that the correct proportions of Work Items are being assigned values 1 and 2 by checking the contents of the Male and Female Queues.
Remember, randomness is incorporated within the probability profile, so you won’t get an exact 45% - 55% split, it's a percentage chance of a value being assigned.