Using Graphics Tutorial
Adding graphics to your simulation can help you to communicate ideas, and also aid visualization of the process. Below are a few examples of ways to add graphics.
Step 1 – Import a Background Image
Adding a background image to your simulation helps put it into context; especially for people you might be communicating with.
On the Insert tab, choose Background Image.
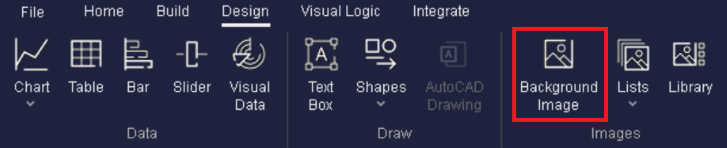
Your cursor will become a cross, and you can decide where on the screen to place the image you’re about to select.
Choose a JPEG image from your computer. If you save a Visio diagram as a JPEG, it can easily be brought in to demonstrate your process as a flow chart ; blueprints and floorplans are also popular choices for demonstrating a process to others.
Step 2 – Change the images of your objects
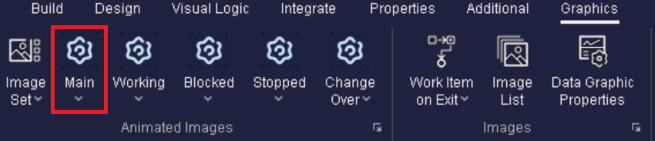
Pick an object, go to the Graphics tab and click on the Main button. You can now choose an image (either from those included or your computer).
This can be done for any of the objects in your simulation.
Step 3 – View the status of different objects in your simulation
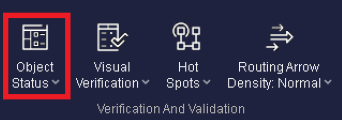
To easily see what each object is doing within your simulation, the ‘Object Status’ function can be used; find this on the ‘View’ tab.
If you select ‘Display Object Status’ from this dropdown, the following will be added to your simulation.
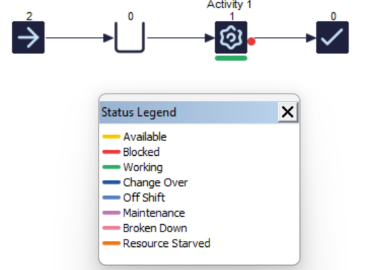
This allows you to easily see which objects in your model are in which state.
Step 4 – Change the Work Item Image
It is possible to change the image a Work Item has, and this can be done at any point in your process.
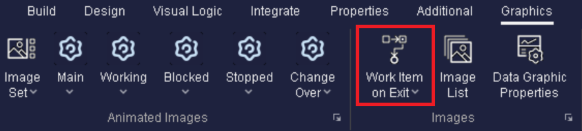
Select any Activity, and on the Graphics tab, choose ‘Work Item on Exit’. This enables you to choose what a Work Item will look like when it leaves that Activity. This is especially useful when working on simulations where the Work Item could look different at different stages in your process (i.e. Production Lines).